Ever dreamed of a tasty breakfast that meets your dietary needs? Look no further than these easy gluten-free crepes. They bring the taste of a Parisian café to your table, without the gluten. I’ve found that gluten-free recipes can be just as delicious as their gluten-filled counterparts.
These crepes are light, tender, and slightly sweet. They’re perfect for a variety of fillings, making them great for breakfast or brunch. The recipe is quick and easy, so you can enjoy a delicious meal without the stress. Whether it’s a special occasion or a lazy morning at home, these crepes are a great choice.
Table of contents
- Why These Gluten-Free Crepes Are Special
- Essential Ingredients for Perfect Crepes
- Kitchen Tools and Equipment Needed
- Tips for Measuring Gluten-Free Flour
- Step-by-Step Mixing Process
- Mastering the Cooking Technique
- Sweet and Savory Filling Options
- Storage and Make-Ahead Tips
- Troubleshooting Common Issues
- Dairy-Free Adaptation Guide
- Conclusion
- FAQ
Why These Gluten-Free Crepes Are Special
Enjoy the taste and texture of traditional crepes with this gluten-free recipe. These gluten-free crepes use almond flour and sweet rice flour. They offer a soft, thin, and buttery-crisp experience. You can make them with ingredients you likely have at home.
Traditional vs Gluten-Free Comparison
Traditional crepes use wheat flour, which has gluten. But, this gluten-free crepe recipe uses almond flour and sweet rice flour instead. This makes the crepes great for those with gluten sensitivities. They also have a subtly sweet and neutral flavor that goes well with many fillings.
Benefits of This Recipe
- Easy to prepare with simple, on-hand ingredients
- Dairy-free option available for those with lactose intolerance
- Ideal for special breakfasts, brunches, and creating memorable family experiences
Perfect for Special Occasions
These crepe recipe benefits make them perfect for special breakfast moments. They’re great for weekend indulgences and celebrations too. Their soft texture and neutral flavor let you add your favorite fillings, making meals special.
“These gluten-free crepes are a game-changer. They’re just as delicious as traditional crepes, but without the worry of gluten sensitivity.”
Essential Ingredients for Perfect Crepes
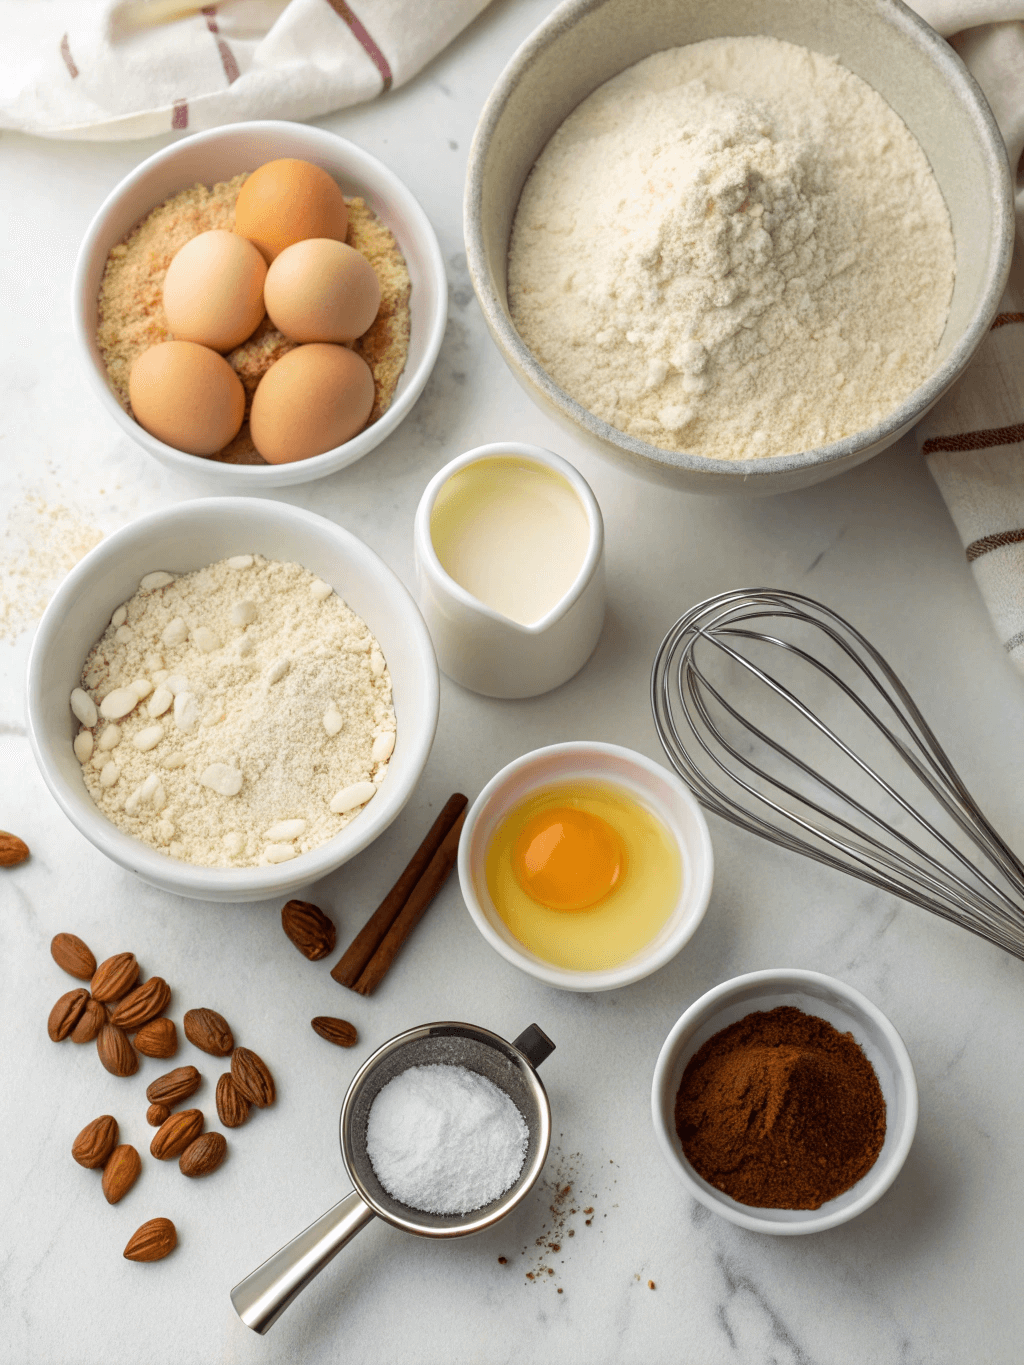
- Gather all ingredients for your gluten-free crepes:
- Gluten-free all-purpose flour with xanthan gum
- Eggs
- Milk (dairy or non-dairy)
- Water
- Sugar
- Vanilla extract
- Butter
- For savory crepes, skip the sugar and vanilla. Instead, add salt and fresh herbs for a flavorful twist.
- Use Bob’s Red Mill 1-to-1 Gluten-Free Baking Flour for a reliable gluten-free option.
- For a grain-free alternative, mix ¾ cup cassava flour with ½ cup arrowroot starch.
- Ensure all ingredients are at room temperature before mixing to achieve the best consistency in your batter.
“Gluten-free crepes can be just as delicious as their traditional counterparts, with the right blend of ingredients and techniques.”
For the best results, chill the gluten-free crepe batter in the fridge for 30 minutes. This lets the flour hydrate fully, making the crepes smooth and cohesive.
The secret to perfect gluten-free crepes is the right mix and cooking technique. With a bit of practice, you’ll make these tasty treats in no time.

Kitchen Tools and Equipment Needed
To make the perfect gluten-free crepes, you’ll need some key tools. First, a non-stick skillet or a traditional crepe pan is essential. These pans help your crepes slide off easily, giving them a delicate texture.
Required Cookware
- Non-stick skillet or crepe pan (8 to 10 inches in size)
- Spatula for flipping and transferring crepes
Optional but Helpful Tools
- Blender for creating a smooth, lump-free batter
- Hand mixer or stand mixer for effortless batter preparation
Measuring Equipment
- Measuring cups for flour, milk, and other ingredients
- Measuring spoons for precise measurements of sugar, salt, and butter
A crepe pan is the traditional choice, but a non-stick skillet works too. The important thing is a wide, flat pan for even batter spreading. A blender or hand mixer makes mixing the batter easy, ensuring it’s smooth.
Accurate ingredient measurement is key for the perfect crepe. Make sure you have all the measuring cups and spoons ready. This way, your recipe will turn out just right.
Tips for Measuring Gluten-Free Flour
When baking gluten-free crepes, getting the flour right is key. The spoon and level method helps you get the batter just right. Here’s how to do it:
- Use a spoon to scoop flour into the measuring cup. Don’t scoop from the bag to avoid overpacking.
- After filling the cup, level off the top with a knife or straight edge. This removes excess flour and gives you the exact amount needed.
Getting the flour right is crucial in gluten-free baking. Without gluten, the batter is more sensitive to ingredient changes. By using the spoon and level method, you ensure accurate flour measurement. This way, you’ll always make delicious gluten-free crepes.
“Accurate flour measurement is the foundation for perfect gluten-free crepes. The spoon and level method ensures you get the right amount every time.”
Step-by-Step Mixing Process
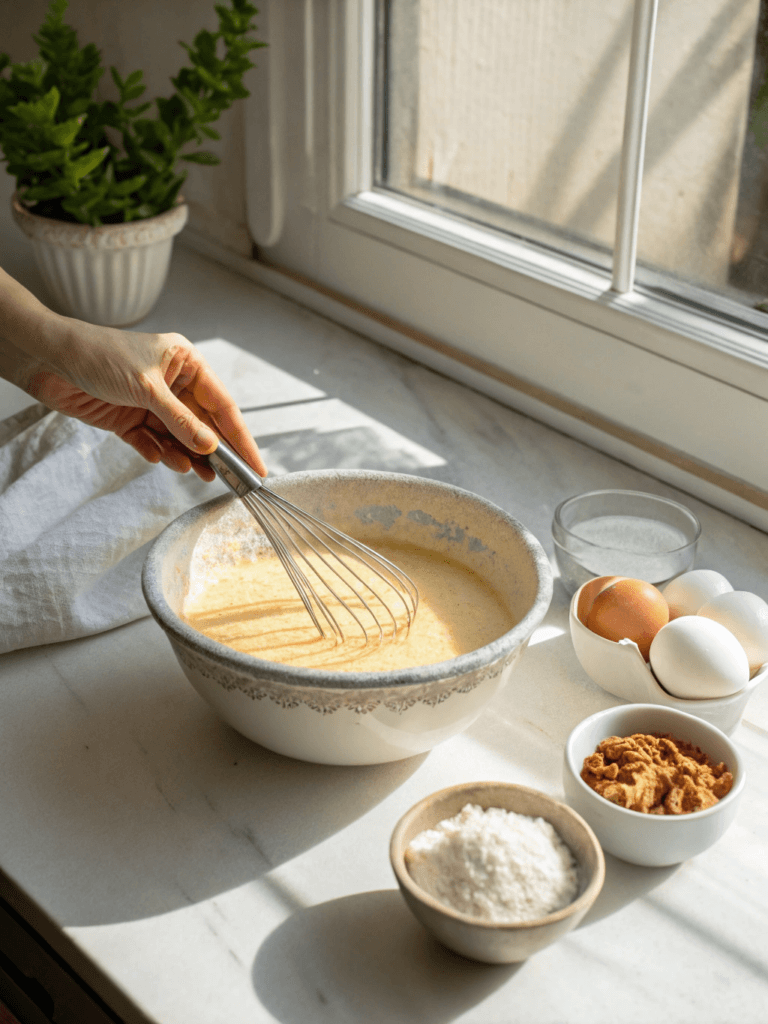
- Put all your ingredients, including flour, eggs, milk, and seasonings, into a blender or food processor.
- Blend on high speed until the batter is smooth and free of lumps.
- If mixing by hand, whisk the eggs first, then slowly add the other ingredients while stirring vigorously to avoid lumps.
- Check the batter consistency—it should be thin and pourable, similar to heavy cream or runny pancake batter.
- If the batter is too thick, add a little more milk or water to achieve the right consistency.
- Cover the bowl and let the batter rest in the fridge for at least 1 hour, or overnight if possible.
- Allowing the batter to rest helps the gluten-free flour fully hydrate, preventing the crepes from tearing and improving their texture.
“Patience is key when making gluten-free crepes. The resting period allows the batter to come together seamlessly for the best results.”


Mastering the Cooking Technique
Making delicious gluten-free crepes is all about mastering the cooking technique. With the right steps, you can get perfectly thin, evenly cooked, and delicate crepes every time. Let’s explore the key steps for crepe cooking tips, swirling technique, and flipping crepes.
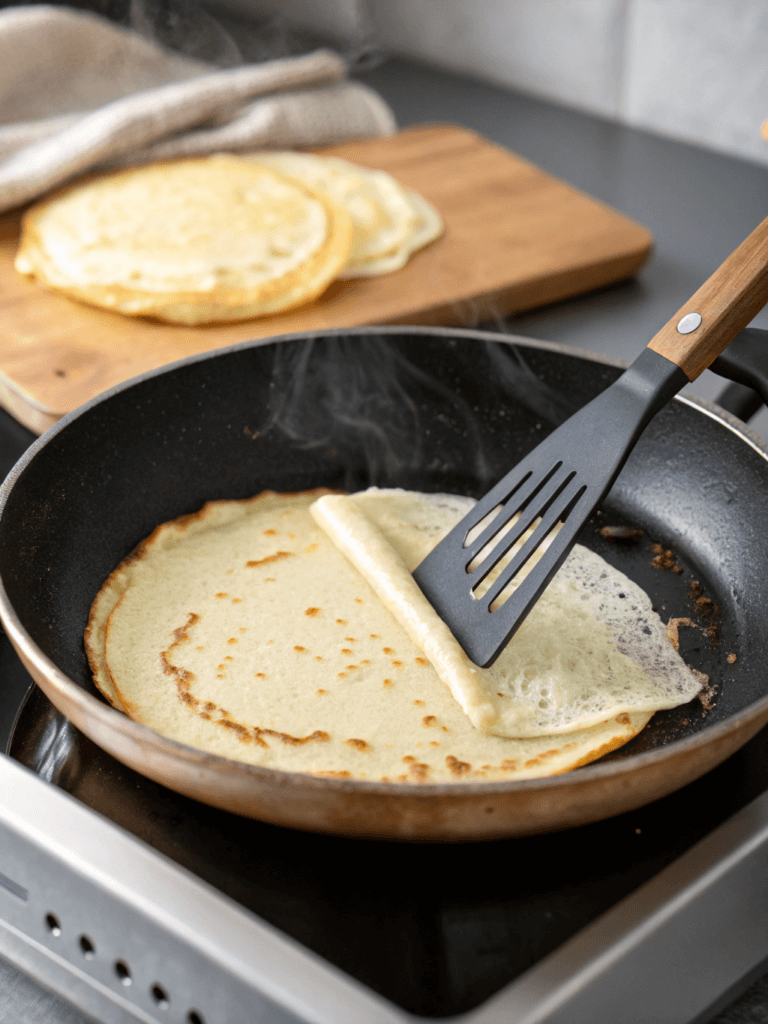
- Heat a non-stick pan over medium-low heat. This gentle temperature ensures even cooking and prevents the crepes from browning too quickly.
- Use about 1/4 cup of batter per crepe. This portion size will result in a thin, delicate crepe that’s easy to handle.
- Swirl the pan to evenly distribute the batter. This swirling technique helps create a thin, uniform layer that cooks perfectly.
- Cook the crepe for 30-45 seconds until small bubbles start to form on the surface. This is your cue to flip the crepe gently using a spatula.
- Cook the flipped side for an additional 30 seconds. Avoid overcooking to maintain the soft, pliable texture of the crepes.
- Transfer the cooked crepes to a wire rack while you finish the batch. This prevents them from becoming soggy or sticking together.
With a little practice, you’ll be a pro at crepe cooking tips and creating picture-perfect gluten-free crepes every time. Embrace the art of swirling and flipping for a truly rewarding breakfast or dessert experience.
“The key to mastering gluten-free crepes is all in the technique. With a little patience and practice, you’ll be swirling and flipping like a pro.”
Sweet and Savory Filling Options
Make your gluten-free crepes even better with tasty fillings and toppings. Discover endless options to make your crepe just right. Enjoy classic sweet treats or try new savory and seasonal flavors.
Classic Sweet Combinations
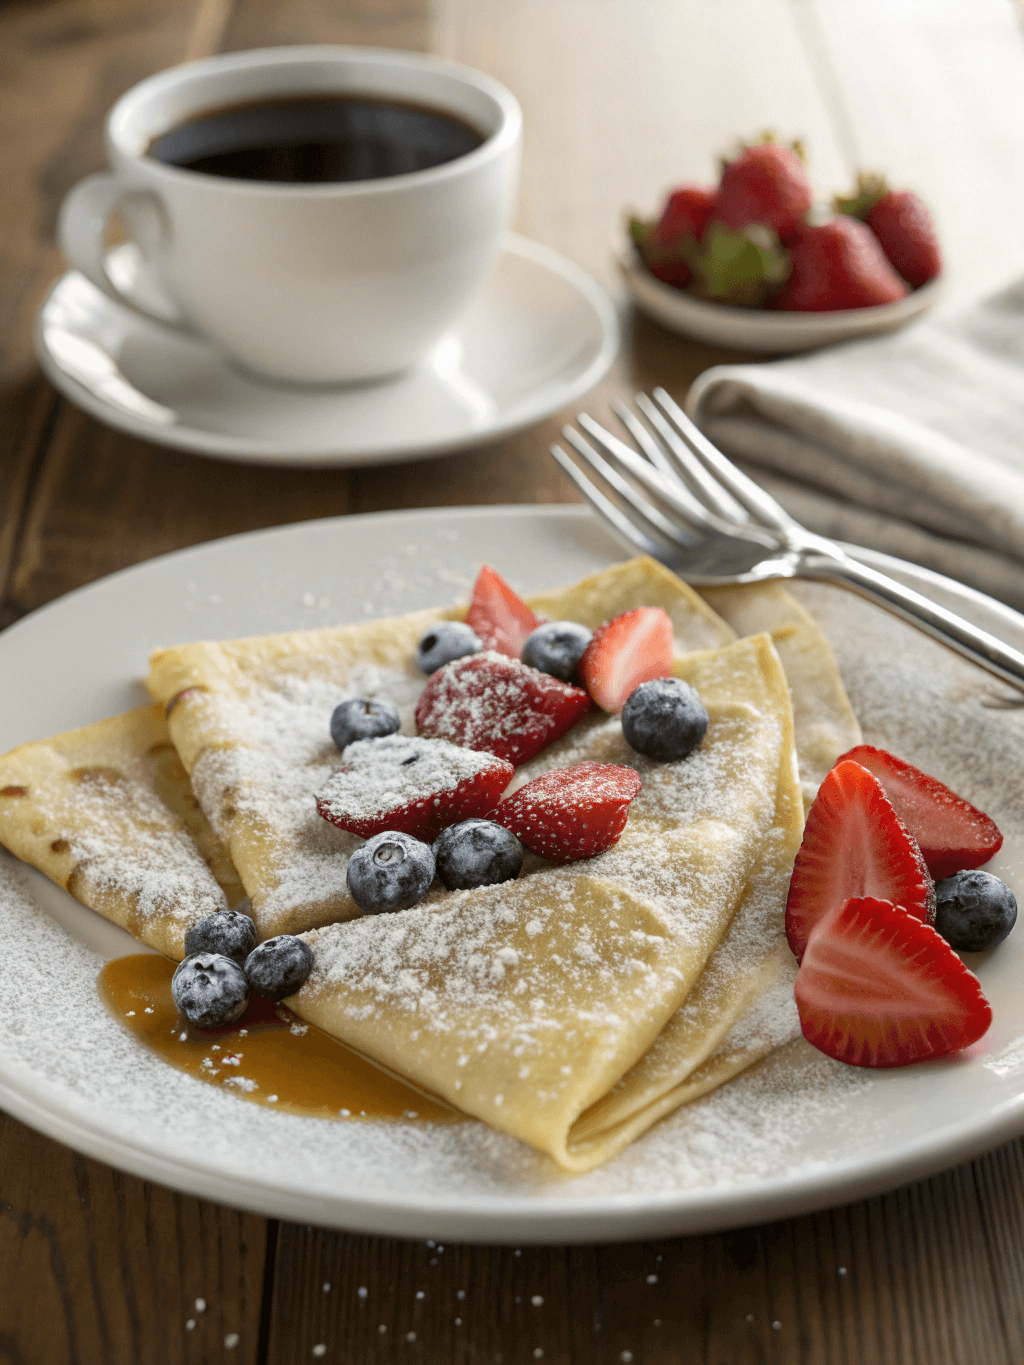
- Nutella with fresh strawberries or sliced bananas
- Whipped cream and mixed berries
- Powdered sugar and a squeeze of lemon
- Fruit compotes, like apple or cherry
Savory Filling Ideas
- Ham and melted cheese
- Scrambled eggs with a drizzle of hollandaise sauce
- Creamy ricotta cheese and smoked salmon
- Pesto with sautéed vegetables
Seasonal Topping Suggestions
Use fresh, in-season ingredients to top your crepes:
- Juicy berries and stone fruits in the summer
- Warm apple compote in the fall
- Decadent chocolate and peppermint in the winter
Crepe fillings, toppings, and recipes are endless. Be creative and find your new favorite mix!
“The possibilities for crepe fillings are endless, making them a truly versatile and delicious option for any meal or occasion.”

Storage and Make-Ahead Tips
Gluten-free crepes can be enjoyed beyond the moment of making them. They can be prepared ahead and stored for later. Whether you’re freezing crepes or reheating crepes for a make-ahead breakfast, these tips will help you enjoy them whenever you want.
After cooling, stack the crepes with parchment paper in between. Wrap them tightly in plastic to prevent sticking. In the fridge, they stay fresh for up to 5 days, perfect for quick breakfasts.
To store them longer, freeze crepes for up to 2 months. Place cooled crepes on a baking sheet and freeze until firm. Then, stack them with parchment and store in a freezer-safe bag. Reheat them in the microwave or on the stovetop for a tasty meal.
“Gluten-free crepes are a lifesaver for busy mornings. Being able to make them ahead and have them ready to go in the freezer is a game-changer.”
With these storage and make-ahead tips, enjoy gluten-free crepes anytime. Whether it’s a weekend brunch or a weekday breakfast, they’re always ready.
Troubleshooting Common Issues
Making perfect gluten-free crepes is an art. But, with some tips, you can solve common problems. Let’s tackle crepe batter issues, cooking challenges, and texture problems.
Lumpy Batter? Check the Ingredients
Is your crepe batter lumpy? It’s probably because your ingredients are too cold. Make sure eggs, milk, and flour are at room temperature before mixing. This will make your batter smooth and lump-free.
Rubbery Texture? Adjust the Consistency
Do your crepes feel rubbery? Your batter might be too thick. Add a bit more milk or non-dairy milk to thin it out. Also, keep your pan at the right temperature to avoid rubbery crepes.
Sticking Issues? Grease the Pan Properly
Preventing crepes from sticking is key. Use a well-seasoned, non-stick pan and grease it well with butter, oil, or spray. Cooking at a consistent medium heat helps too.
Tearing Troubles? Chill the Batter
Are your crepes tearing? Chill the batter for 30 minutes to an hour before cooking. This lets gluten-free flours hydrate, making the batter more pliable.
Uneven Cooking? Master the Swirling Technique
For even cooking, focus on your pouring and swirling. Pour batter in the center and swirl the pan to spread it evenly. Keep the heat medium for even cooking.
By tackling these common issues, you’ll master making delicious, texture-rich crepes. Happy cooking!
Dairy-Free Adaptation Guide
Craving vegan crepes that taste just as good as the real thing? You’re in luck! With a few simple swaps, you can make crepes that are light and fluffy, without dairy.
First, replace regular milk with non-dairy milk options like almond, cashew, or coconut milk. These milks add moisture and richness, making the perfect crepe batter.
- Almond milk: Offers a subtle nutty flavor and creamy consistency.
- Cashew milk: Lends a luxurious mouthfeel and mild taste.
- Coconut milk: Imparts a delicate tropical sweetness.
For the fat, choose dairy-free butter like Smart Balance or refined coconut oil. These fats give your crepes a golden color and tender inside.
Finding the right egg substitutes can be tricky. While flax or chia seeds are options, they might not match eggs in texture and taste. For the best crepes, stick with eggs.
Adjust the liquid ratios to get the batter just right. You want it thick enough to hold its shape but still pourable. A bit of trial and error will help you make vegan crepes that wow.
By using dairy-free alternatives, you can enjoy crepes that fit many diets and tastes. Whether for a special event or a cozy breakfast, these changes make your crepes just as tasty as the originals.
Conclusion
Gluten-free crepes are a tasty choice for breakfast, brunch, or dessert. They taste and feel like traditional crepes. These crepes are great for any meal, offering many sweet and savory options.
Learning to make these versatile gluten-free recipes is easy. You’ll have a easy breakfast idea that will wow everyone. These tips will help you make amazing crepes for any occasion.
This article has all you need to become a gluten-free crepe expert. Enjoy the flavors, try different fillings, and show off your creativity. You’ll take your breakfast to the next level with these gluten-free crepes.
FAQ
What makes these gluten-free crepes special?
These gluten-free crepes taste and feel like traditional ones. They’re perfect for those who can’t eat gluten. They’re easy to make and use simple ingredients. You can enjoy them on special mornings or weekends.
What are the key ingredients for these gluten-free crepes?
You’ll need gluten-free flour with xanthan gum, eggs, and milk. You can use dairy or non-dairy milk. Add water, sugar, vanilla, and butter. For savory crepes, skip the sugar and vanilla. Add salt and herbs instead.
What cookware and equipment are needed to make these crepes?
You’ll need a non-stick pan or crepe pan. A blender, mixer, and measuring tools are helpful. A crepe pan is best, and a blender makes the batter smooth.
How should the gluten-free flour be measured?
Use the “spoon & level” method for flour. Scoop it into the cup with a spoon, then level it with a knife. This ensures the right batter consistency.
What is the step-by-step process for mixing the crepe batter?
Blend all ingredients in a blender until smooth. The batter should be thin. For hand mixing, whisk eggs first, then add other ingredients. Chill the batter for at least an hour or overnight.
How do you properly cook the gluten-free crepes?
Heat a non-stick pan over medium-low heat. Use 1/4 cup of batter per crepe. Swirl the pan to spread it thinly. Cook for 30-45 seconds, then flip and cook for 30 more seconds. Place cooked crepes on a wire rack.
What are some delicious filling and topping options for these crepes?
You can fill them with Nutella and strawberries or bananas. Try whipped cream and berries, powdered sugar, or lemon and sugar. For savory, use ham and cheese, scrambled eggs, or pesto with vegetables. Seasonal fillings like fresh fruit or chocolate and peppermint are great too.
How can these gluten-free crepes be stored and reheated?
Cool crepes, then stack and wrap in plastic wrap. Store in the fridge for up to 5 days. Freeze for up to 2 months. To reheat, microwave or warm on the stovetop.
What are some common issues that can arise when making these crepes, and how can they be addressed?
Issues like lumpy batter, rubbery crepes, sticking, and tearing can happen. Use room temperature ingredients for smooth batter. Check the batter and pan temperature for even cooking. Grease the pan well and chill the batter longer to prevent sticking and tearing.
How can these crepes be made dairy-free?
Replace dairy milk with almond, cashew, or coconut milk. Use dairy-free butter substitutes. Avoid vegan egg substitutes for the best texture and flavor. Adjust the liquid ratios as needed for the right batter consistency.
Print
Easy Gluten-Free Crepes
- Total Time: 30 minutes
- Yield: 8 crepes 1x
- Diet: Gluten Free
Description
Light, tender, and slightly sweet gluten-free crepes that bring the taste of a Parisian café to your table. Perfect for a variety of fillings, making them ideal for breakfast or brunch.
Ingredients
- 1 cup gluten-free all-purpose flour (with xanthan gum)
- 2 large eggs
- 1/2 cup milk (dairy or non-dairy)
- 1/2 cup water
- 2 tablespoons melted butter (or dairy-free alternative)
- 1 tablespoon sugar (omit for savory crepes)
- 1 teaspoon vanilla extract (omit for savory crepes)
- Pinch of salt
Instructions
Prepare the Batter:
- In a blender, combine the gluten-free flour, eggs, milk, water, melted butter, sugar, vanilla extract, and salt. Blend until the mixture is smooth and free of lumps.
- If mixing by hand, whisk the eggs first, then gradually add the remaining ingredients, ensuring a smooth batter.
Rest the Batter:
- Cover the batter and refrigerate for at least 30 minutes to allow the gluten-free flour to hydrate. This resting period helps prevent tearing during cooking.
Cook the Crepes:
- Heat a non-stick skillet or crepe pan over medium-low heat. Lightly grease with butter or oil.
- Pour approximately 1/4 cup of batter into the center of the pan. Immediately tilt and swirl the pan to spread the batter evenly into a thin circle.
- Cook for 30-45 seconds until the edges start to lift, and the underside is lightly golden. Flip the crepe using a spatula and cook the other side for an additional 30 seconds.
- Transfer the cooked crepe to a plate and repeat with the remaining batter, stacking the crepes with parchment paper in between to prevent sticking.
Notes
- Dairy-Free Option: Substitute milk with almond, cashew, or coconut milk and use a dairy-free butter alternative.
- Savory Crepes: Omit the sugar and vanilla extract. Add a pinch of salt and fresh herbs to the batter if desired.
- Storage: Stack cooled crepes with parchment paper between each, wrap tightly in plastic wrap, and store in the refrigerator for up to 5 days or freeze for up to 2 months. Reheat in the microwave or on the stovetop before serving.
- Prep Time: 10 minutes
- Cook Time: 20 minutes
- Category: Breakfast/Brunch
- Cuisine: French
Nutrition
- Calories: 90 kcal
- Fat: 3g
- Carbohydrates: 12g
- Protein: 3g


